How to Choose the Right Car Seal Strip?
Choosing the right Car Seal Strip is more than matching a rubber profile to a vehicle door. The strip must control noise, water, dust, vibration, and temperature changes. A poor choice may look acceptable in a showroom, then shrink beside a hot window. It may also harden during winter. Small details matter.
Automotive sealing specialist Dr. Markus Schmitt explains, “A reliable seal begins with the vehicle’s movement, not the strip’s appearance.” This practical view changes the selection process. Buyers should check the door gap, installation channel, compression rate, and contact surface. They should also identify the material, such as EPDM, silicone, or PVC. EPDM often performs well against weather and ozone. Silicone handles wider temperature ranges, but it can cost more. PVC may suit lighter applications, although flexibility can decline over time.
Measure the channel carefully. Then inspect the door edge for rust, paint buildup, or deformation. Clean surfaces improve adhesion and reduce early separation. Do not stretch the strip during installation. That common shortcut can create thin areas and visible gaps. It is easy to overlook.
A dependable Car Seal Strip should close evenly without forcing the door. Test it with a sheet of paper around several points. If the paper slides freely, compression may be insufficient. If the door needs excessive force, the profile may be too large. Specifications help, but real vehicle conditions remain decisive. Even experienced installers can miss a corner radius or drainage path. That is why careful measurement, material verification, and a controlled fitting test should guide the final choice.
Map Seal Locations and Exposure to EPDM’s −40 to 150°C Service Range
How to Choose the Right Car Seal Strip?
Choosing a car seal strip starts with mapping every sealing location. Check door frames, window channels, the trunk opening, hood edges, and lamp housings. Each area faces different conditions. A door seal may endure rain, dust, UV light, and repeated compression. An engine-bay seal can experience stronger heat and oil mist. Do not judge by shape alone.
Record exposure beside each location. Note direct sunlight, water splash, road grit, vibration, and nearby heat sources. EPDM is often suitable for demanding automotive environments, with a service range of approximately −40 to 150°C. However, this range is not a universal promise. Continuous heat, compression, and chemical contact can shorten service life. Measure real surface temperatures when possible, especially near radiators or exhaust components.
Fit matters just as much as material. Compare the original profile, channel size, wall thickness, and compression force. The strip should close evenly without forcing the door or blocking drainage paths. Clean the channel before installation. Check corners carefully; small gaps can invite water and wind noise. A tidy map can still be wrong if temperatures were estimated poorly. I once overlooked sunlight reflected from a pale panel, and the measured heat exceeded my first assumption. Recheck unusual areas after driving, not only inside the workshop.
Match Profile Geometry to the Recommended 20–30% Compression
How to Choose the Right Car Seal Strip?
The correct profile should reach about 20–30% compression after installation. This range usually balances sealing pressure, closing effort, and long-term recovery. A hollow bulb profile suits doors and trunks because its air chamber compresses smoothly. A solid strip offers stronger support but may require more closing force. Geometry matters more than appearance.
Measure the sealing gap at several points, including corners and painted joints. Then compare the profile’s free height with the smallest gap. A 10 mm profile in an 8 mm gap produces 20% compression. However, uneven gaps can create local over-compression. That can accelerate fatigue, distortion, and compression set. ASTM D395 provides recognized methods for evaluating rubber compression set. SAE J200 helps classify elastomer performance. ISO 3302-1 addresses dimensional tolerances for rubber products. These standards guide testing, but they do not replace vehicle-specific validation.
Tips: Use a feeler gauge, not eyesight. Check the strip at room temperature and after heat exposure. Press the door gently and inspect for continuous contact. I once selected a profile by height alone; the corners sealed poorly. That mistake was predictable. Recheck corner radius, adhesive clearance, and mounting-channel fit before production. A small geometry error can defeat a technically excellent material.
How to Choose the Right Car Seal Strip? - Match Profile Geometry to the Recommended 20–30% Compression
| Profile Geometry | Typical Automotive Location | Free Height
(mm) | Target Installed Gap
(mm) | Calculated Compression | Recommended Contact Width
(mm) | Selection Guidance |
| Hollow Bulb Seal | Door perimeter, trunk lid, hood perimeter | 20 | 15 | 25% | 8–14 | A hollow bulb provides progressive sealing force and is suitable where the gap varies slightly during closing. |
| D-Shaped Bulb | Door frame, side aperture, liftgate opening | 16 | 12 | 25% | 7–12 | The flat mounting side improves stability, while the rounded face distributes compression over a broad sealing line. |
| Tubular Seal | Trunk lid, hatchback opening, removable panels | 18 | 13 | 28% | 8–15 | A tubular cavity accommodates repeated opening and closing while maintaining a continuous weather barrier. |
| Sponge Rubber Bulb | Glove box, interior covers, low-load trim panels | 12 | 9 | 25% | 5–10 | Use when low closing force and light cushioning are more important than high structural retention. |
| U-Channel with Flexible Lip | Door edges, glass guides, sheet-metal flanges | 10 | 7.5 | 25% | 3–7 | Confirm that the channel width matches the panel thickness; the lip should contact the mating surface without buckling. |
| Extruded Edge Seal with Foam Insert | Firewall openings, body flanges, access covers | 14 | 10 | 29% | 5–9 | The carrier provides edge retention, while the foam insert fills moderate gaps and reduces vibration transmission. |
| Solid Rubber Wiper or Scraper Lip | Window beltline, sliding glass edge, water-shedding areas | 8 | 6 | 25% | 2–5 | Keep the lip flexible and aligned with the moving surface; excessive compression can increase friction and cause noise. |
Compression formula: Compression (%) = [(Free Height − Installed Gap) ÷ Free Height] × 100. The 20–30% range is a practical starting point for many automotive weather-seal applications. Final dimensions should be verified against the actual gap variation, closing force, temperature range, material hardness, and surface tolerances.
Select EPDM, NBR, or Silicone by Media Resistance and Temperature
How to Choose the Right Car Seal Strip?
Select EPDM, NBR, or Silicone by Media Resistance and Temperature
Choosing a car seal strip starts with the fluid it will contact. EPDM suits water, coolant, steam, ozone, and outdoor weathering. Common industry data places EPDM service temperatures near -50°C to 150°C, depending on formulation. It performs poorly with petroleum oils and fuels. That detail is often missed. A coolant hose seal beside an oily engine may fail sooner than expected.
NBR is a practical choice for engine oil, hydraulic fluid, and fuel exposure. SAE J200 classification and ASTM D471 immersion testing are widely used to compare oil resistance, volume change, and tensile loss. Typical NBR ranges reach about -30°C to 120°C. Silicone handles wider temperatures, often around -60°C to 200°C. It resists ozone and heat well, but abrasion, tearing, and some oils can remain concerns. High temperature alone does not make it suitable.
Check the real media.
In workshop inspections, I would examine swelling, hardening, surface cracks, and compression recovery after exposure. ISO 815-1 compression-set testing helps assess whether a seal returns after compression. Still, laboratory results can mislead. Pressure, movement, installation force, and contamination alter performance. A seal rated for 200°C may fail near a sharp flange or under repeated vibration. Select the compound after reviewing temperature peaks, contact fluids, and expected service hours. Test a sample when the application is critical.
How to Choose the Right Car Seal Strip?
EPDM, NBR, or Silicone compared by media resistance and typical continuous temperature capability
Compatibility scores are indicative engineering ratings from 1 (poor) to 5 (excellent). Typical continuous service ranges are approximately EPDM: −40 to 150°C, NBR: −30 to 120°C, and Silicone: −60 to 200°C. Actual performance depends on compound formulation, exposure time, concentration, and sealing design.
Specify 60–80 Shore A Hardness and ASTM D395 Compression Set
How to Choose the Right Car Seal Strip?
Specify 60–80 Shore A Hardness and ASTM D395 Compression Set
A car seal strip must balance softness, recovery, and resistance to repeated closing. The 60–80 Shore A range offers a practical starting point for many door and trunk applications. ASTM D2240 measures rubber hardness with a Shore durometer. However, hardness alone cannot predict sealing performance. A 60 Shore A compound may conform better to uneven metal, while an 80 Shore A compound may resist extrusion more effectively.
Compression set deserves closer attention. ASTM D395 measures the permanent deformation remaining after rubber stays compressed under controlled conditions. Results are reported as a percentage. Lower values generally indicate better recovery after long-term compression. Test temperature, duration, compound type, and specimen geometry can change the result. ISO 815-1 also evaluates compression set and supports comparison between rubber materials. ASTM D395 does not define one universal pass limit, so engineers must set limits for the vehicle’s temperature range and sealing load.
Tips: Request ASTM D395 data at a temperature close to service conditions. Compare samples after heat aging, not only when new. Check the strip at corners, where bending adds stress. Do not treat 70 Shore A as a magic number. In practice, I would inspect closing force, visible gaps, and recovery after repeated cycling. A promising laboratory result can still disappoint on a real vehicle. That is an uncomfortable, but useful, possibility.
Verify Dimensions Against ISO 3302-1 Tolerance Classes Before Installation
How to Choose the Right Car Seal Strip?
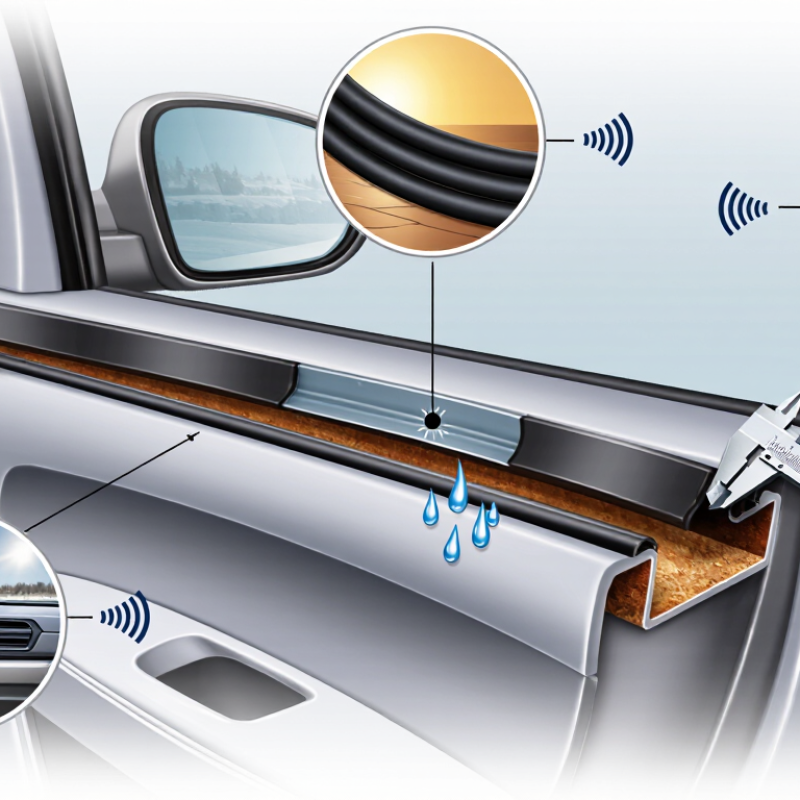
A suitable car seal strip must match the channel, door edge, and compression space. Measure the installed profile, not only the catalog dimensions. Use a calibrated caliper to check width and height at several points. Rubber can vary slightly along its length. Temperature also changes flexibility and measured size.
Verify every critical dimension against the ISO 3302-1 tolerance class stated on the technical drawing. Classes M1, M2, M3, and M4 allow different dimensional variations. M1 is the tighter class, while M4 permits wider variation. Do not assume a strip is acceptable because its nominal size looks correct. Check the tolerance for profile height, width, wall thickness, corner radius, and any cut length.
A small height error may create excessive compression, wind noise, or a difficult door closure. I once trusted a single measurement and missed a gradual profile change near the corner. That shortcut caused rework.
Tips:
Measure three to five sections, including both ends and one corner. Record actual values beside the ISO tolerance limits. Confirm the drawing’s measurement method before judging the result. Avoid compressing the seal during measurement. Install a short sample first, then inspect contact marks and closing force. This practical check can reveal problems that dimensions alone miss. If the supplier provides no tolerance class, request written clarification before installation.

